Macro friendly, mini Oreo cheesecakes! Yes you heard it right, a mini Oreo cheesecake stuffed with a mini Oreo that is delicious, low calorie, and macro friendly!
Told ya an Oreo one was coming! I just can’t resist, cheesecake is my weakness and if I can eat it every night I am going to! As soon as I was out of my cheesecake brownies I went a few nights without it and decided I needed more!
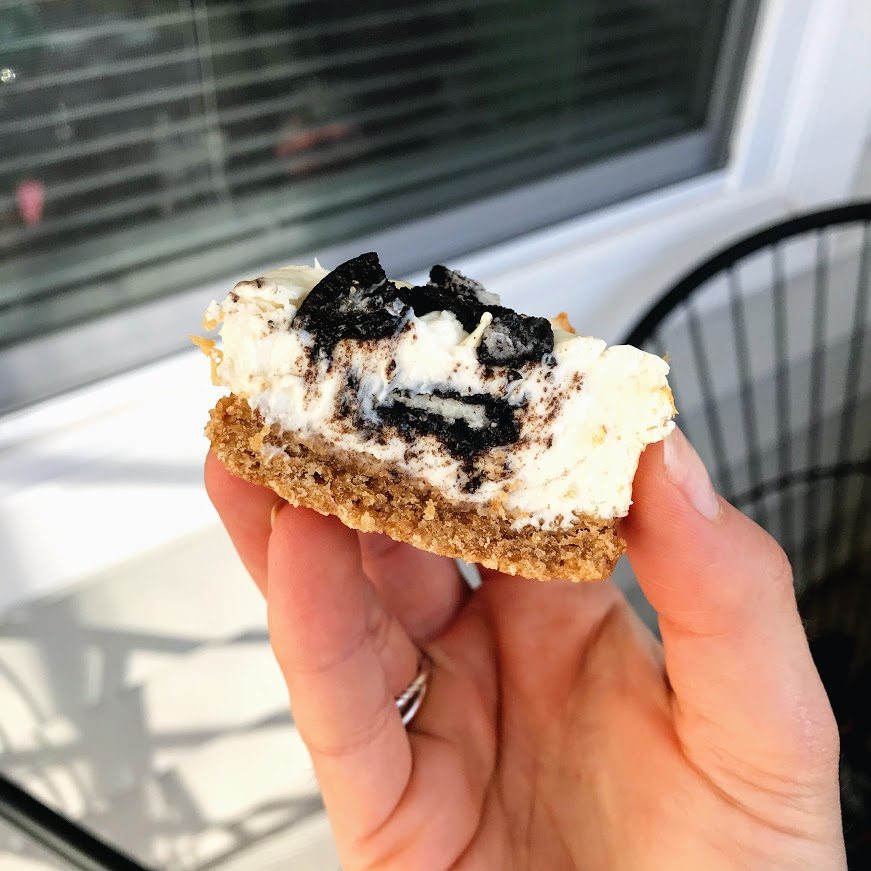
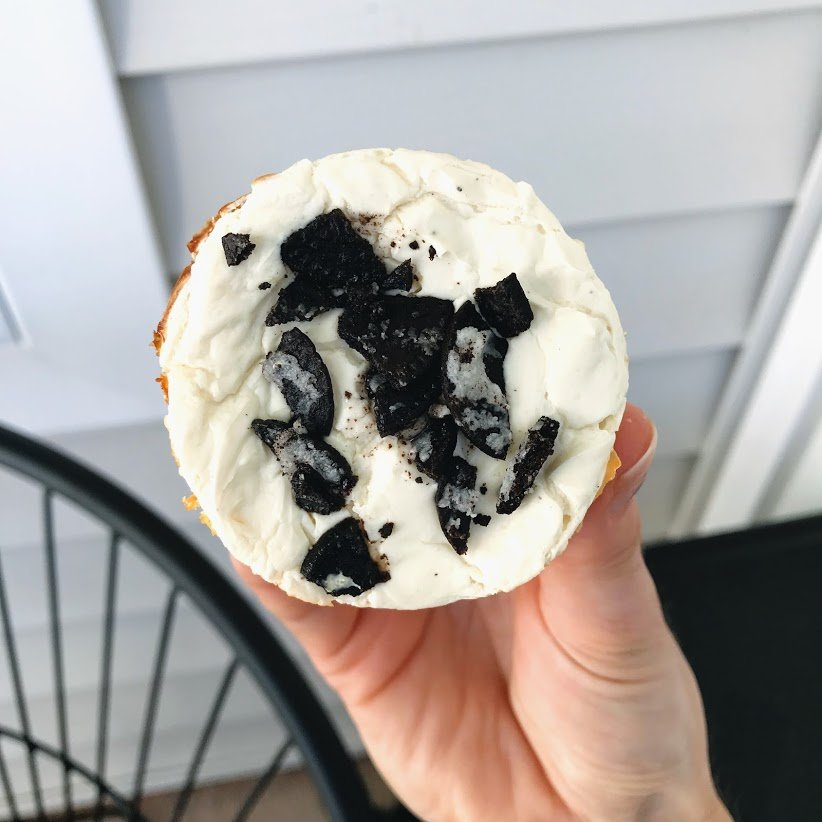
This time I made them in cupcake tins and filled them with Mini Oreos Thins! Take a look here: Mini Oreo Thins. I am a sucker for anything combined with Oreo, especially cheesecake. These mini Oreo cheesecakes are like biting into a little surprise. You get the creaminess of the cheesecake and the sweetness of the Oreo.
I HIGHLY recommend lining your greased cupcake tin with parchment paper. In my opinion the cupcake liners tend to stick to the cheesecake and then you lose half the dessert!! If you line the bottom the muffin will not stick to the sides I promise!
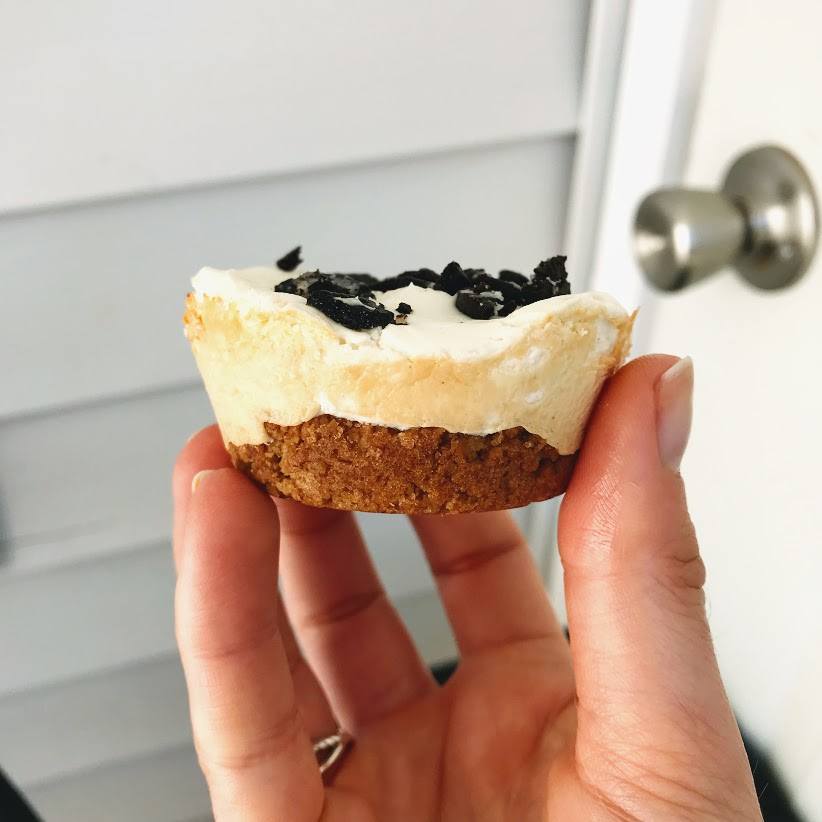
To start you make the crust which is just crushed graham crackers and melted butter. I used a food processor to grind up the grahams then stirred in the melted butter with a fork! Line 9 cupcake tins with the mixture (mine was about 54 grams into each). Bake this at 375 for 10 minutes!
While this is baking make the cheesecake mixture. Use either an handheld electric blender or an Kitchen Aid. I combine all the ingredients (except for the Oreo Thins) at once and then just mix it up!
Mini Oreo Cheesecake Mixture Ingredients:
- Vanilla protein powder
- fat free cream cheese
- fat free greek yogurt
- Swerve Confectioners sugar
- Mini Oreo Thins (to be added after)
When the crust is finished baking add in the cheesecake mixture using a rubber spatula.
Now comes in the Oreos!! Take 9 of the Mini Oreo thins and press them gently into the cheesecake, they should not yet be completely covered. Use the rubber spatula to spread the cheesecake mixture overtop so you can no longer see the mini Oreo. With the remainder of the Oreos crush them up with your hands so there are still some bigger pieces and top the mini cheesecakes! Now is time to bake them for 8-10 minutes. When the cheesecakes look a bit brown around the edges they are done! Take them out and let them cool for 20 minutes. Run a knife around the edges and check to make sure they are set. If they look ready then you can take them out of the tins and let them cool for another 20-30 minutes. Finally, you can eat them or chill them in the fridge for storage!!
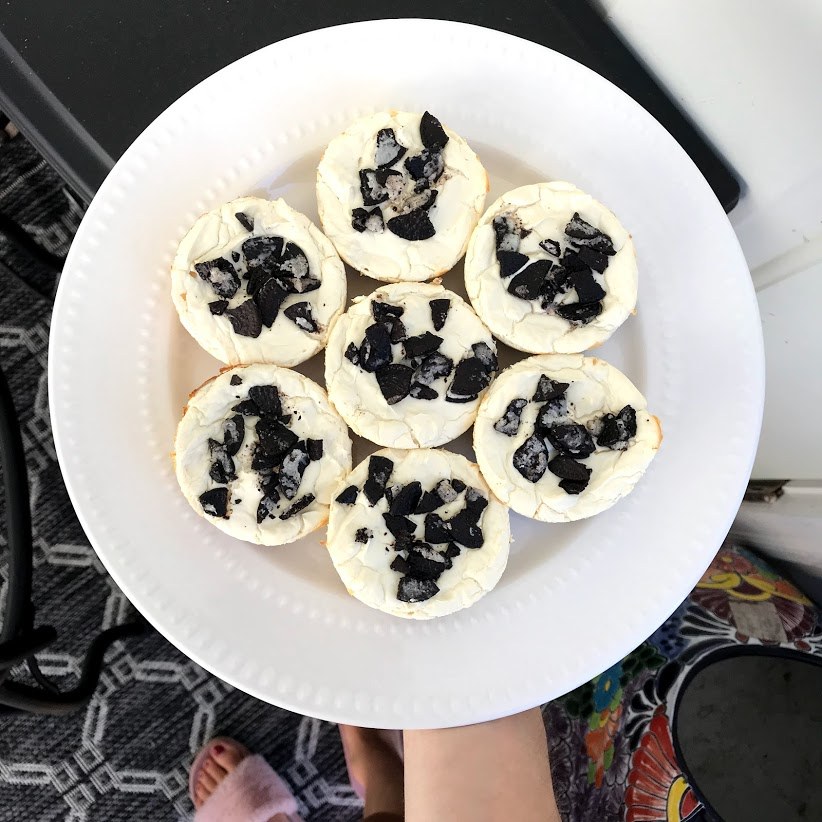
This recipe makes 9 delicious mini Oreo cheesecakes 🙂 If you do not like Oreos.. maybe add Reese’s Minis..or try my White Chocolate Peanut Butter Cheesecake or my Cheesecake Brownies!
Ingredients
Equipment
Method
- Preheat your oven to 375 degrees.
- Grease and line a cup cake tin with parchment paper.
- Start with making the crust. Use a food processor to grind up the graham crackers and melt the butter in the microwave. Combine the two ingredients with a fork.
- Line the bottoms of 9 cupcake tins with around 54 grams of the crust.
- Bake the crust for 10 minutes.
- While the crust is baking make the cheesecake mixture. Put the cream cheese, yogurt, sugar, and protein powder using a hand mixer or a kitchen aid.
- Weigh out 40 grams of the Mini Oreo Thins.
- When the crust is done baking divide the cheesecake mixture onto the 9 crusts.
- Take 9 of the Oreo thins and gently press them into cheesecakes until they are halfway down. Now use a rubber spatula to cover the oreo.
- Crush the remaining Oreos so there are still chunks and top the 9 cheesecakes.
- Bake for 8-10 minutes and then let them cool for 20 minutes.
- Use a knife to run around the edges of the cheesecakes and make sure that the centers look set before you take them out. Once you get them out let them cool for another 20-30 minutes.
- Now ENJOY or store in the refrigerator 😀
